03
Sep

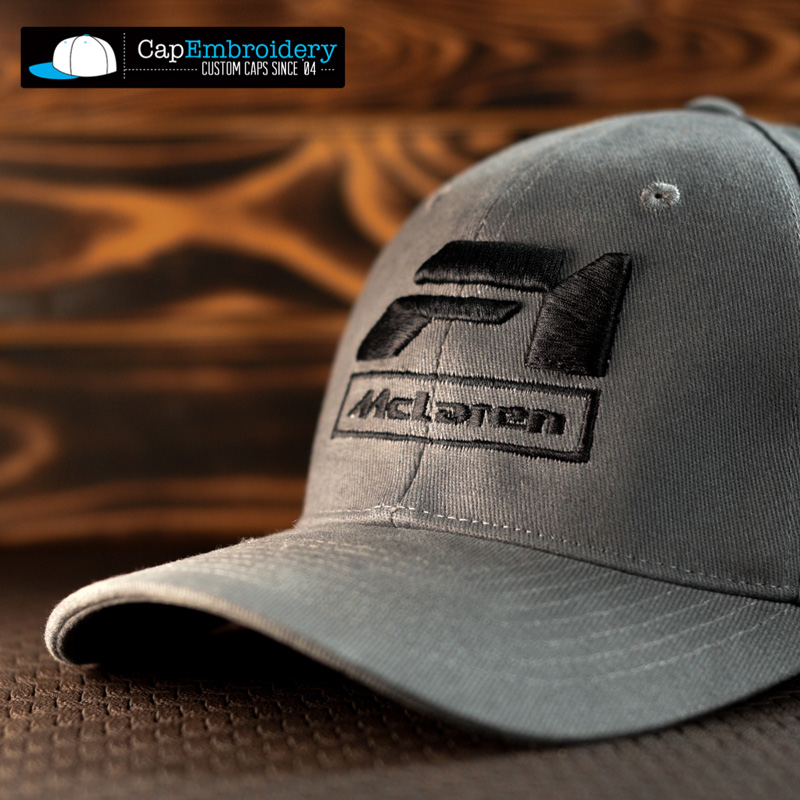
In this project capembroidery.co.uk used a multi style embroidery from a classic satin stitch embroidery on the inner circle and 3D Embroidery on the letter ‘t’ and the outer circle.
It created a great raised embroidery effect, showing both flat classic embroidery against the 3D element of the stitches.
Category
3D Cap & Classic Embroidery
Cap Style
5 Panel Trucker Cap
Colour
Mustard, Black
Product Link
5 Panel Trucker Cap

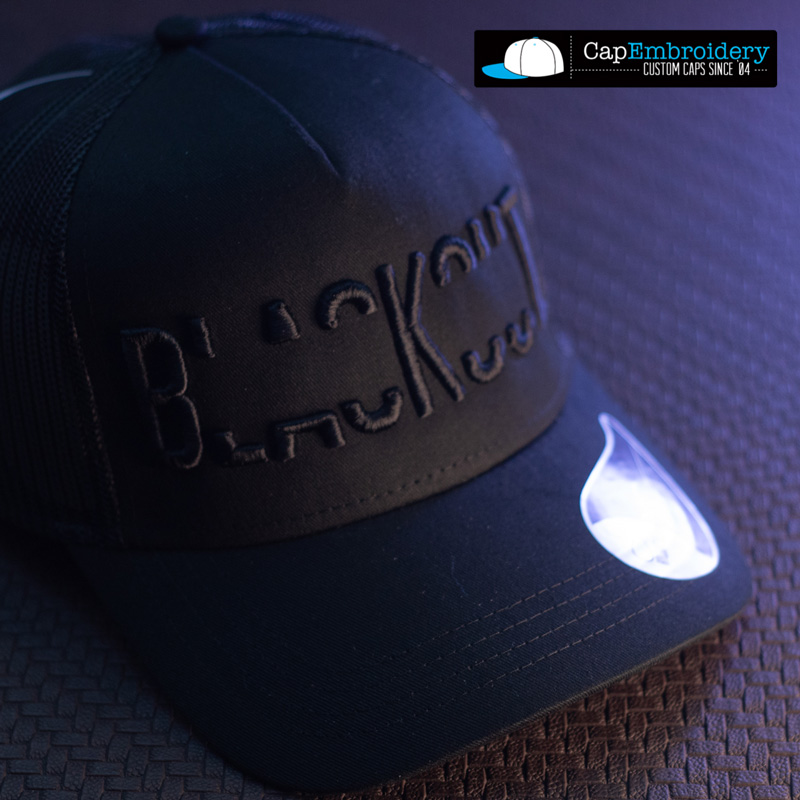
3d 5 Panel trucker cap embroidery
Using both 3D and Classic embroidery to create a strong effect.
To achieve a good clean and tidy 3D embroidery look at the size elements of your graphic. If the lines are below 2.5mm either thicken them up or work your design that these parts can be sewn in a classic stitch.
On this style cap the Crown has a good high area to embroider of up to 70mm depending on the design style. Width to keep the embroidery on the front panel of the cap is 155mm wide.

Embroidery Placements
All caps differ in size from embroidery area to area. If you are looking for a large embroidery area, have a look at this range of caps here at my t shirt printers.