
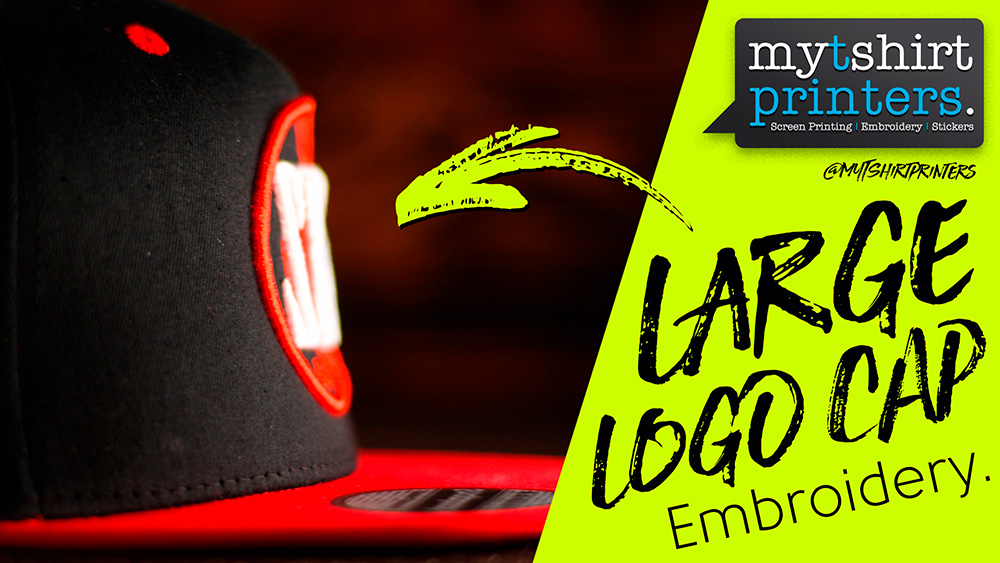
Cap Embroidery with Large Designs
Cap Embroidery with the largest embroidery area we can get on a pre-made cap is what we going for in this blog. Firstly we must take into account not all caps are the same, they vary in height, size and flex. These factors all effect how large we can embroider cap designs on pre-made caps.
We are going for a 5 Panel Flat Peak cap with a nice soft fabric and a tall front embroidery area. The Cap Embroidery design is a circular design and I would say this one of the hardest shapes to to create a large embroidery on cap. I say this because you get pull and push tensions that can warp the embroidery whilst it’s sewing out. Normally on a cap like this I would recommend we go between a 60-65mm embroidery, but lets push this to 70mm.
To make sure our embroidery stays in register and what I mean by that is making sure the stitches don’t shift out of place, we need to look at backing. For this style of cap and cap embroidery we will go for a good stiff Cap Backing. When hooping the Cap we need to place the little clips as low as we can to allow the cap to expand a little when the top of the embroidery hits the fixed arm of the embroidery machine.
If your wondering what the fixed arm of the embroidery machine is, it’s that part where the bobbin is, that long arm. This hits the top of the cap and either stops the machine or warps the embroidery design. Obviously this is not what you want…
In summary hoop low, not too tight and pick the right cap. Watch the full video here. Until the next one!
<iframe width=”560″ height=”315″ src=”https://www.youtube.com/embed/eEVqIAnb93U” frameborder=”0″ allow=”accelerometer; autoplay; encrypted-media; gyroscope; picture-in-picture” allowfullscreen></iframe>